By Brow Artist Katey Kristabelle
My brow clients are so loyal, especially after years of me scolding them not to let anyone else touch their brows. But in times like these we have to adapt. It has become a world of DIY beauty from home, so I’m going to help you become your own eyebrow lady below.
Method:
Tweezing is the safest way to shape your own brows. We are eliminating risk of ripping or tearing the skin with messy wax pots, and it is easy to get the hang of.

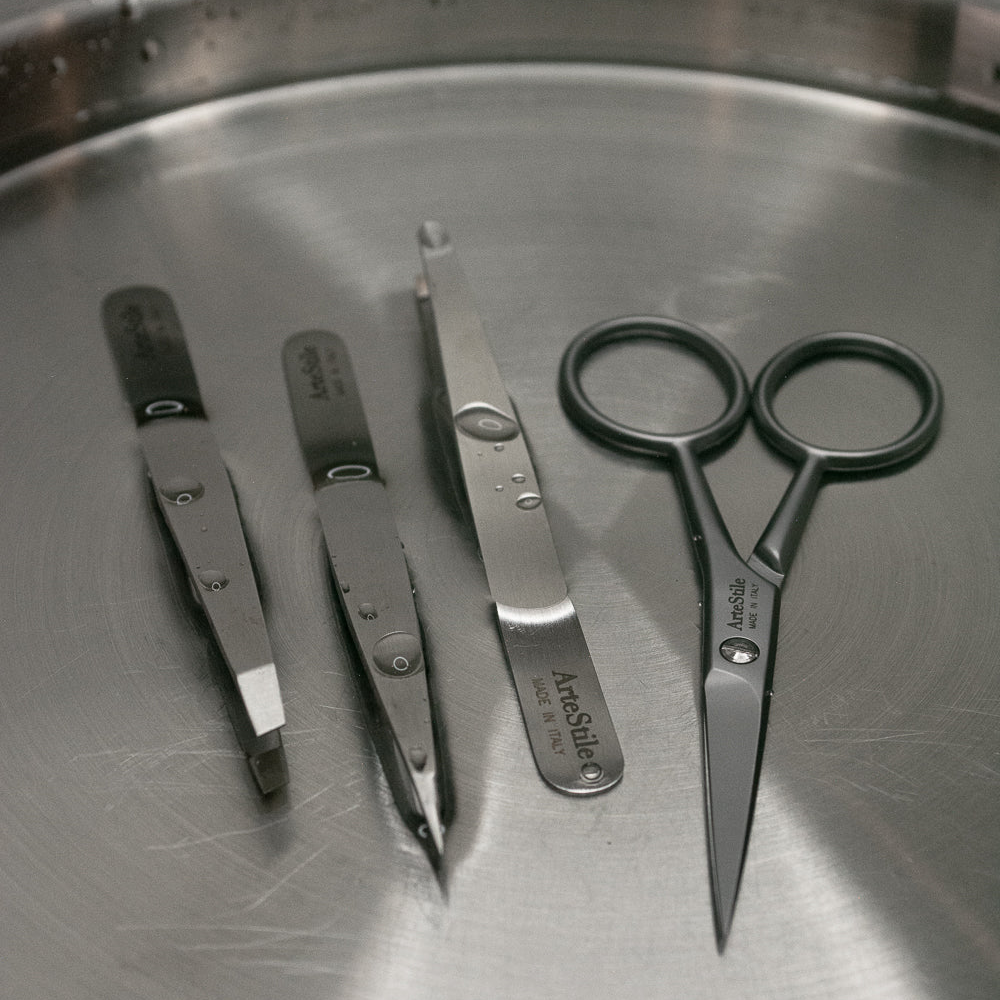
Tweezers:
I prefer slanted tweezers like these ones from ArteStile. Slant tip tweezers are great for beginners and have a great grip to pull the hair right from the root.

Scissors:
Your kitchen or craft scissors won’t cut it. You’ll need a pair of brow scissors small enough for the precision needed when trimming brows. ArteStile Brow Scissors have a straight, sharp blade that make them easy to control and cut straight lines.

Brow brush:
You may have a spoolie lying around, and now you can finally put it to good use! It is very important to constantly brush through the hairs while you're working so you can see the brow shape take form. Not brushing through the brows is the main reason people often over tweeze and over trim their brow hairs.

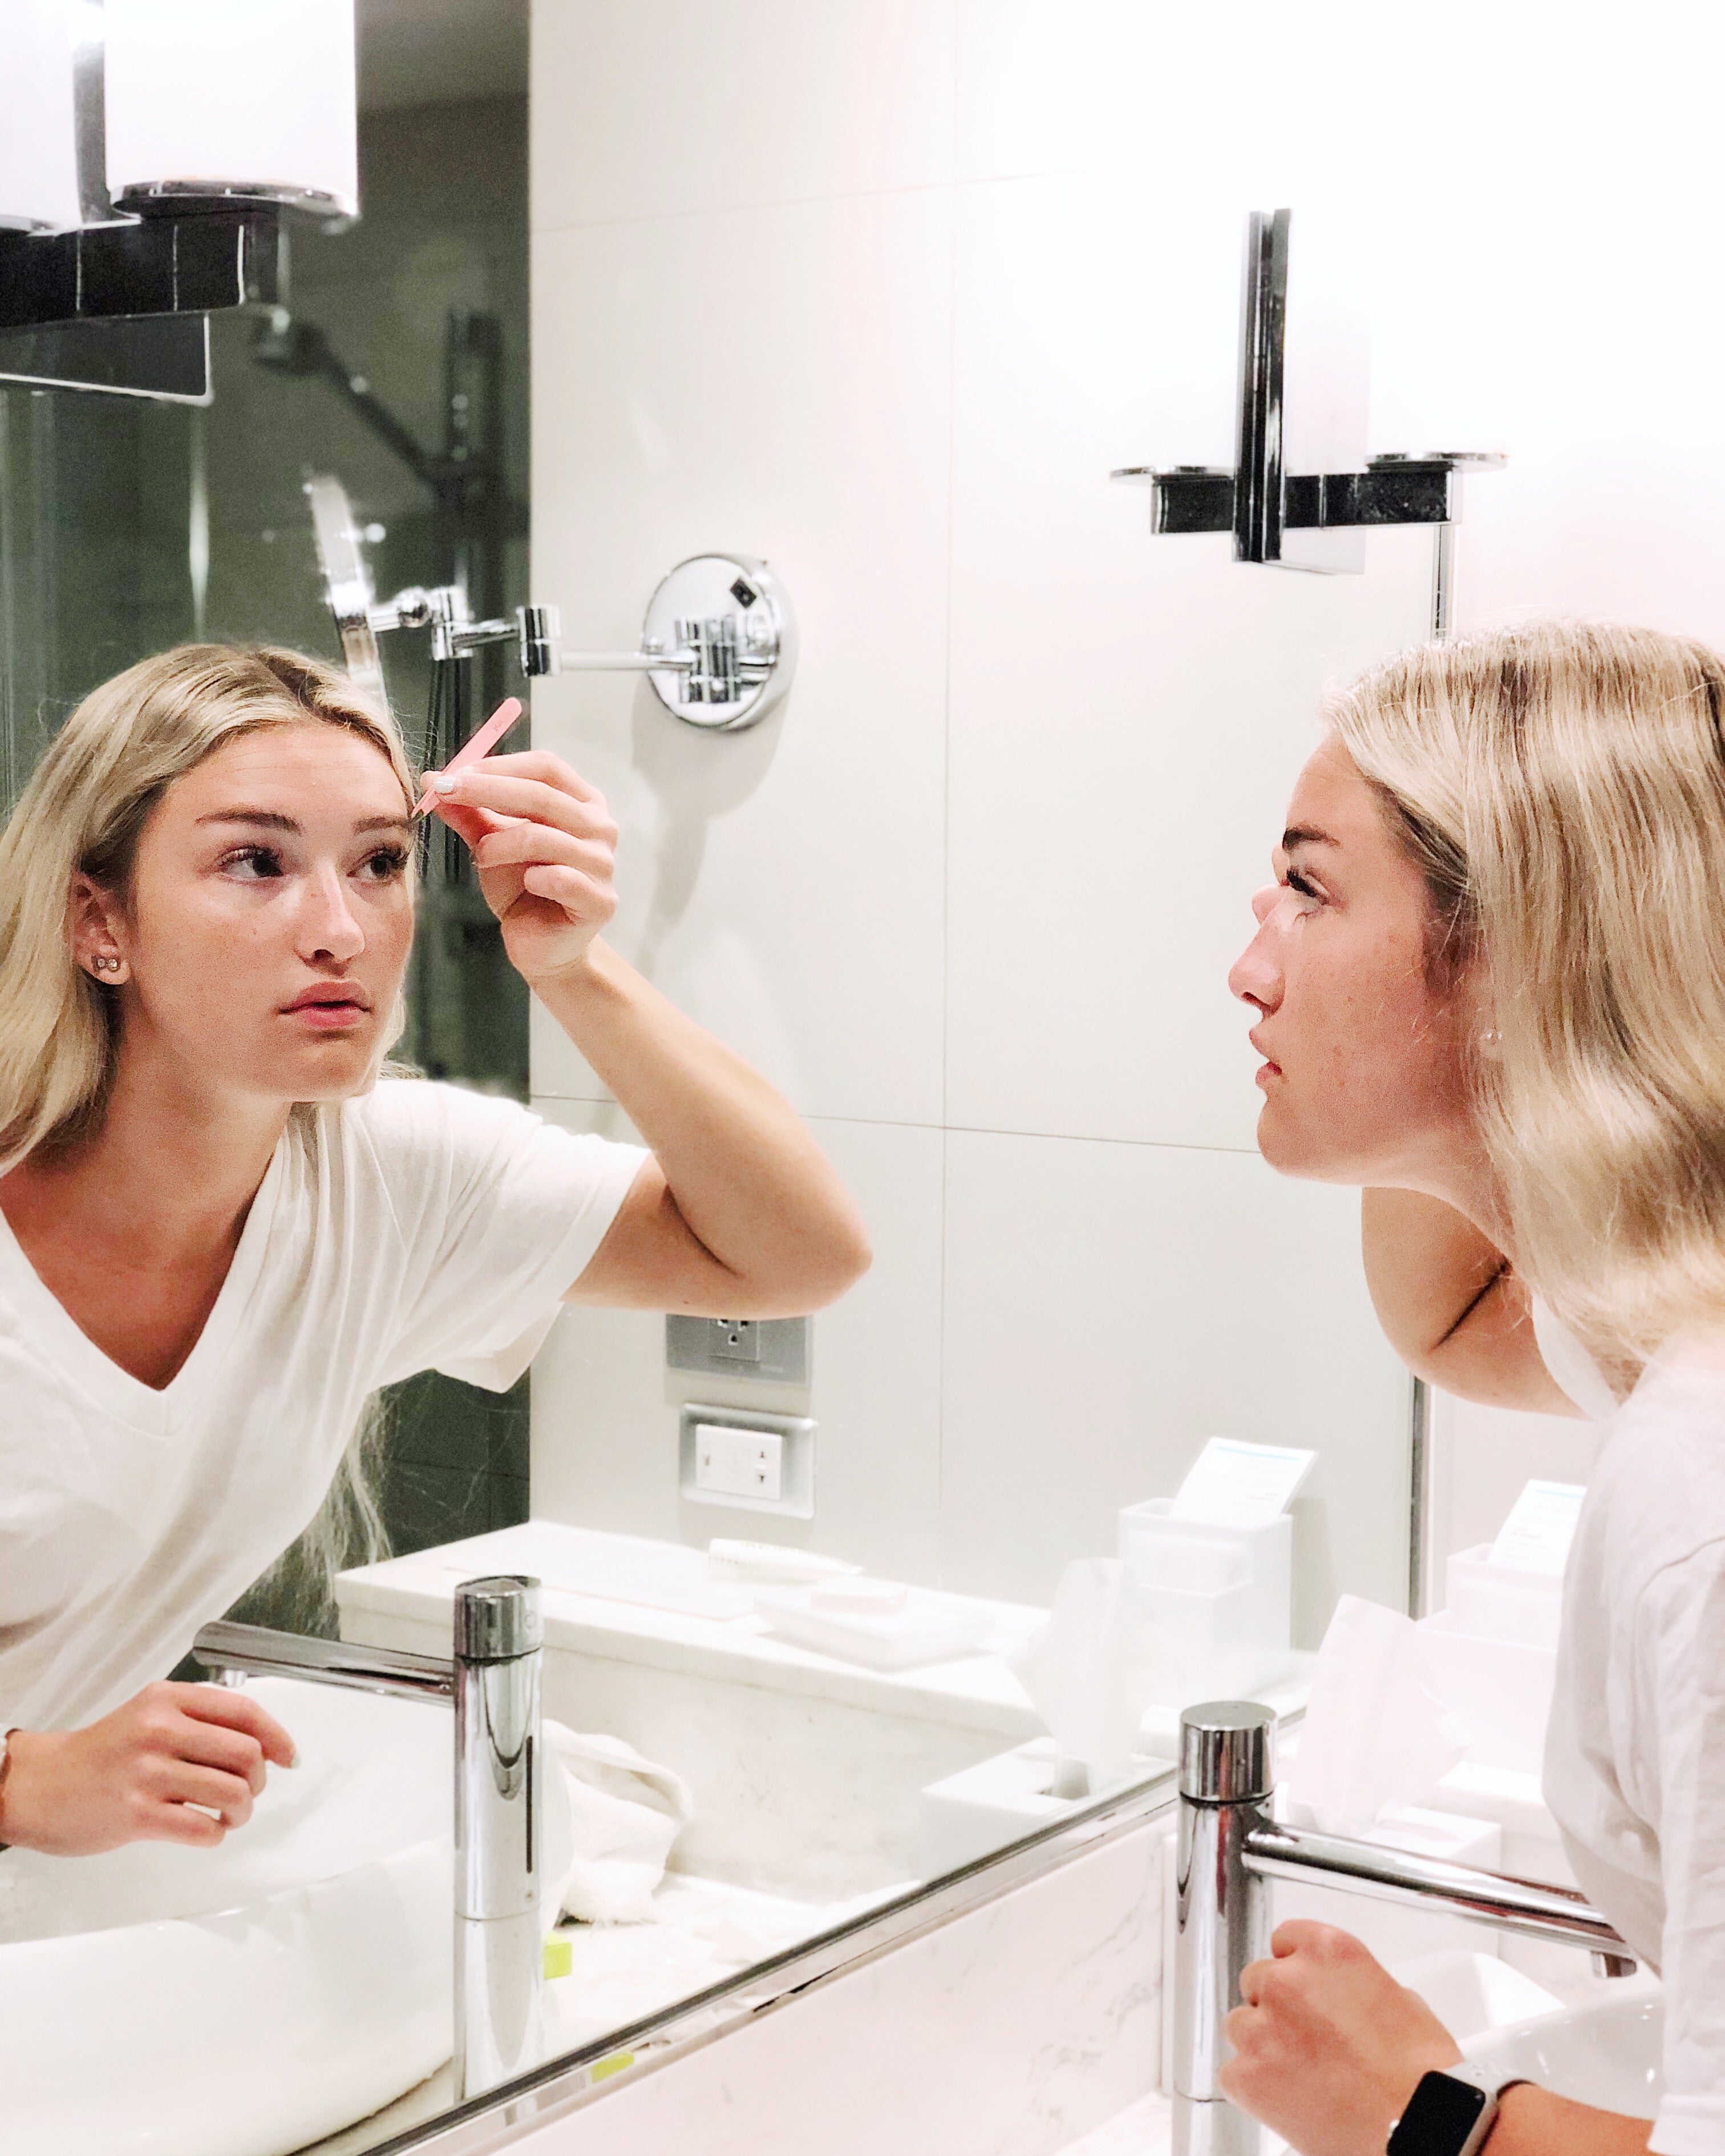
Good lighting:
You simply need to see what you are doing, You wouldn’t get a haircut in dim lighting right?
Avoid magnifying mirrors:
I know you think you really want to zoom in and see every little brow sprout, but ideally you want to focus on both brows instead of one at a time to focus on symmetry. Never complete one brow fully before starting the other, switch back and forth to create a balanced brow.

Creating a balanced brow:
Generally, there are 3 main points your brow artist looks at before creating your brow shape. The space between each brow (where they should begin), the arch (angle of the brow), and the brow tails (where they should end). To find where your brows should start, take your spoolie or any straight, stick-like object and rest it vertically against the inner part of your nostril. You might find it is resting against the tear duct of your eye. To find the highest peak of your brow, you will pivot your spoolie from the same point on the nostril, angled through the iris of your eye when you are looking straight forward. Whether you prefer a soft curve or high arch, knowing where the highest point of brow rests will help avoid “comma brows”. Lastly, to find where the brow tail should end, you can move the spoolie to the base of the nostril and rest it where your eye ends. Following these 3 simple brow points will help you create a balanced brow for your face shape.

image via pinterest
Fill your brows in before tweezing:
You can mark where you measured your 3 brow points to follow along, or you can even fill your brows in to make sure you are not over tweezing. Every brow hair counts sometimes!
Always tweeze the direction of the hair growth:
Pulling the opposite direction can cause breakage, leaving behind the root of the brow and you with the obvious “I tweeze my own brows” look.

Trim, don’t chop:
Less is always more when it comes to trimming the brow hairs. This can make or break any brow look and I personally think trimming is more important than the hair removal alone. Use your spoolie to keep the brows brushed in their natural direction, but do not press down on the hairs while you trim. Once you take the pressure off, you will be left with choppy, patchy brows. You can even rest the brow scissors against your forehead to help keep a steady hand.
Get fluffy!
Now is a good time to put yourself through brow rehab. Let them grow wild and free so you can start with a fresh canvas.